A boosted engine can make the same boost on two pulls and behave very differently. The difference is often temperature.
When intake-air temperature rises between pulls, knock margin changes, the controller may apply temperature protection, and a calibration that looked clean while cold can show a different result when the system is heat-soaked. The log needs to show both the pressure the engine saw and the temperature context around it.
The Channels to Log
Start with the channels that establish pressure, temperature, and engine response:
- MAP - the manifold absolute pressure channel.
- Barometric pressure - the reference needed to interpret MAP correctly.
- IAT or charge-air temperature - use the sensor and location your platform reports.
- RPM, throttle position, and pedal position - establishes the pull and the operating region.
- Spark advance and knock retard - shows delivered timing and the controller response.
- Actual lambda and commanded lambda/equivalence ratio - fueling must be evaluated beside its target.
- Fuel pressure - log the relevant pressure channels for the fuel system.
- Coolant temperature and oil temperature - confirms the broader thermal state of the engine.
If the platform exposes intercooler coolant temperature, pump command, bypass position, wastegate command, or charge-air cooler data, add the channels that help explain the system being tested. Do not add channels just because they are available if doing so makes the log too slow to capture the event.
Identify Boost Correctly
Use the pressure ratio, not throttle position, RPM, or commanded lambda, to determine whether the engine is in boost:
pressure ratio = MAP / barometric pressure
A pressure ratio of 1.02 or greater is the valid in-boost threshold. This is important because a wide-open throttle event is not proof of boost, and a high-RPM event is not proof of boost either.
If MAP is unavailable or unreliable in the log, do not substitute another channel as a boost proxy. Record the missing channel, then evaluate the information the log actually contains.
Establish a Cold Baseline
The first clean pull after stable warm-up is your reference. Before the pull, note the fuel, ambient conditions, cooldown time, fan setup, gear, and starting IAT. Keep the scan list and sample rate unchanged for the follow-up pulls.
The baseline should answer these questions:
- Did MAP and pressure ratio reach the expected loaded region?
- Did actual lambda follow its commanded target?
- Was fuel pressure stable through the pull?
- What were IAT and coolant temperature at the start and end?
- Was there repeatable knock retard at a specific RPM/load point?
Do not make a heat-soak conclusion from one pull. You need comparable pulls with the thermal condition changing in a documented way.
What Heat Soak Looks Like in a Log
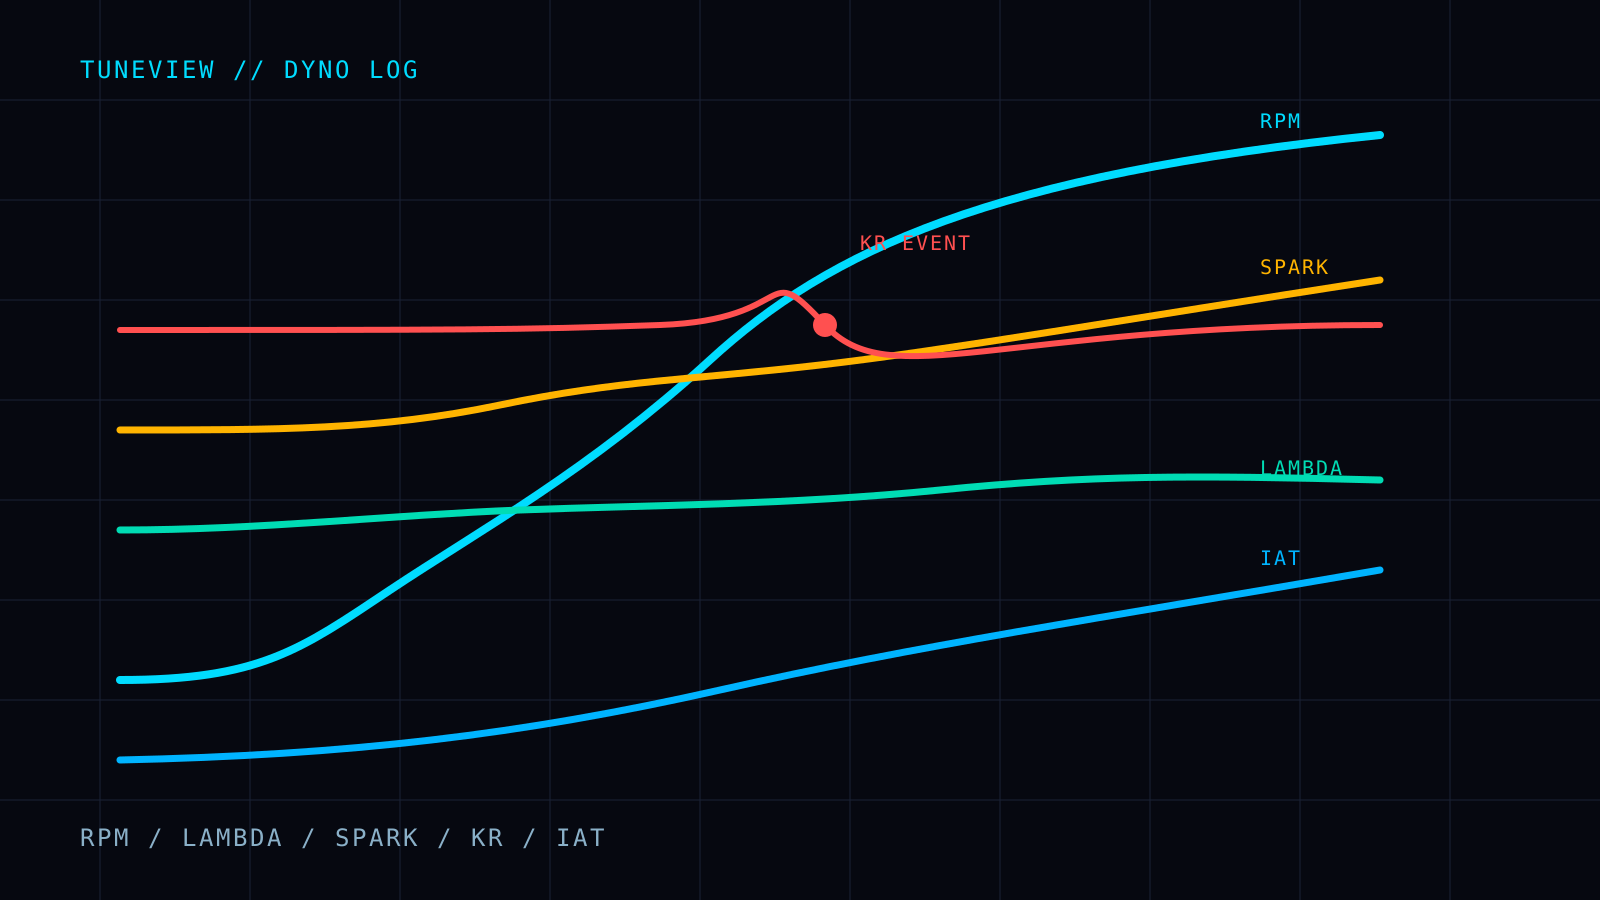
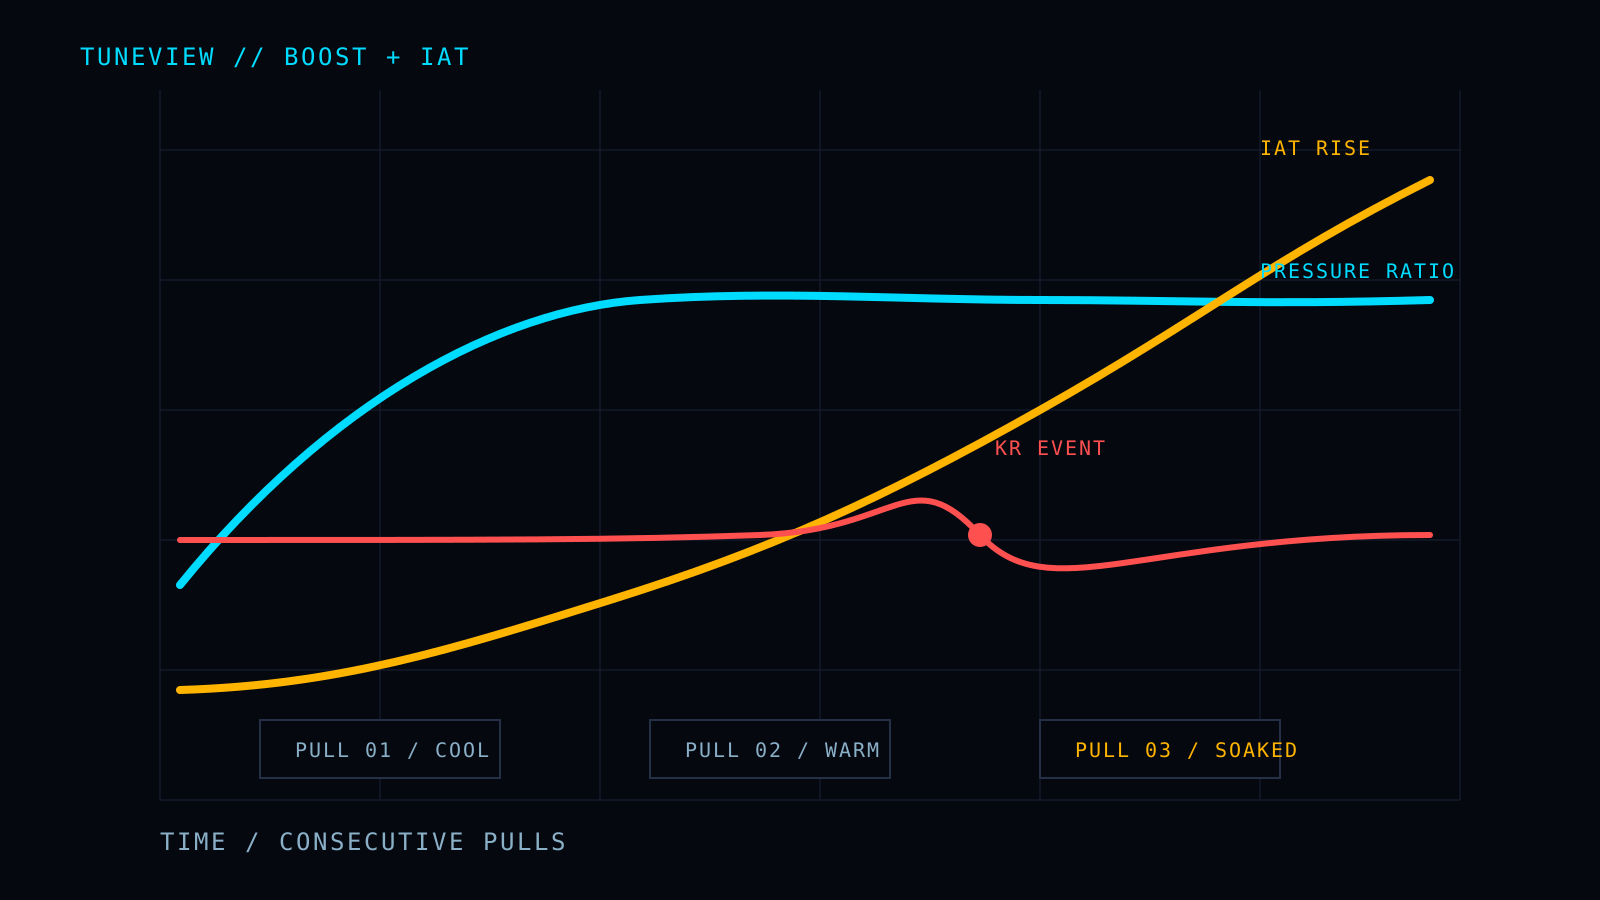
Heat soak is a pattern across time, not simply a high IAT number. A common pattern is clean behavior on the first pull, then rising IAT on successive pulls with a change in delivered spark, knock margin, or power.
Look for the sequence:
- Starting IAT rises between comparable pulls.
- IAT climbs more quickly or finishes higher under the same loaded region.
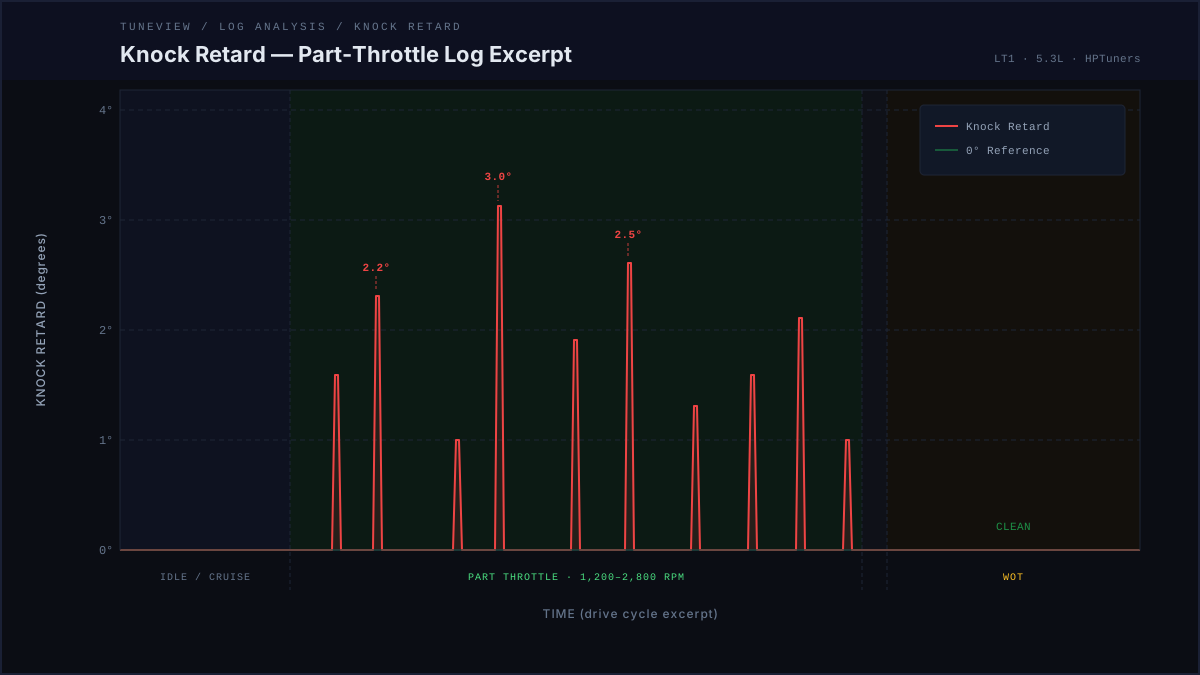
- Spark correction or knock retard appears where the earlier pull was clean.
- Actual lambda and fuel pressure remain comparable, or any difference is documented separately.
When that sequence repeats, temperature is a credible part of the explanation. When it does not, do not blame heat soak before checking the rest of the data.
Separate Temperature From Fueling and Pressure
An IAT increase can coincide with a different fueling result, fuel-pressure drop, boost change, or mechanical issue. Correlation is not enough.
Compare the same RPM/load region across pulls:
- Boost: pressure ratio and MAP should be comparable before treating the pulls as equivalent.
- Fueling: actual lambda must be judged against commanded lambda.
- Fuel supply: a pressure drop can create a separate limitation from temperature.
- Timing: delivered spark and knock retard need the IAT context beside them.
- Conditions: different cooldown time or fan position can make a comparison misleading.
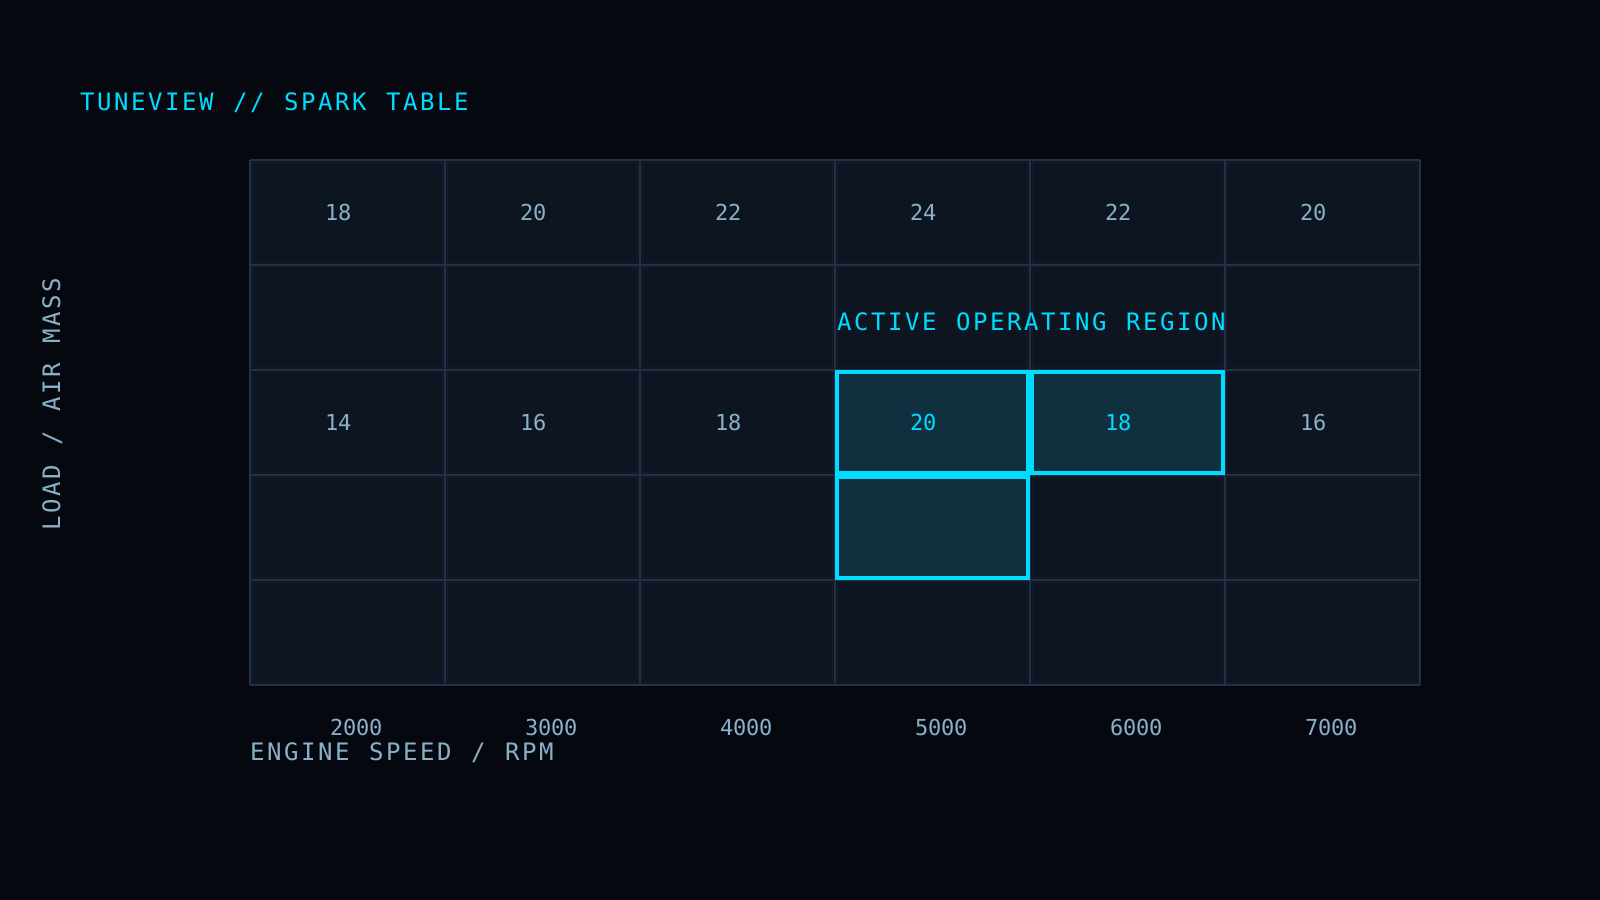
If the evidence points to rising IAT, inspect the temperature-related correction strategy before changing the main spark table. The base table may be appropriate for the temperature it was built around, while the logged condition needs the protection that is already being applied.
Run a Repeatable Test
For a useful comparison, change one condition at a time. Use the same gear and RPM range, the same scanner configuration, and similar starting coolant temperature. Record the cooldown interval and starting IAT for each pull.
A simple sequence is:
- Capture a stable baseline pull.
- Repeat a comparable pull after a known short cooldown.
- Log the same channels at the same rate.
- Compare pressure ratio, IAT, fueling, fuel pressure, delivered spark, and knock retard.
- Make one evidence-backed calibration or hardware change, then re-log.
The goal is not to force every pull to match. It is to know why they differ and whether the next action improved the specific behavior you measured.
For a broader dyno-session setup, see How to Log for a Dyno Tune. For interpreting the controller response, see How to Read Knock Retard in an HPTuners Log.
Full Tune is $69 one-time for one vehicle/motor, with unlimited analyses and revision rounds and no expiration.
TuneView helps HP Tuners users turn scanner logs into guided calibration revisions. Support for GM platforms is live.